[7 Step Guide] How to create a stunning YouTube channel art?
Saurav - October 17, 2018 - Leave your thoughts.
Whenever a viewer sees a great video on YouTube, they start to wonder about the person who created the awesome piece of content!
The moment the curiosity bug bites them, they decide to visit the creator’s channel! And, the first thing that catches their attention there is creator’s Channel Art!
For a YouTuber, the channel art is the best way to tell people what their channel stands for!
It tells their channel’s story, and that's why it is important to make an engaging YouTube channel art so that visitors look at it with awe!
This ensures that your channel leaves a lasting memory in the viewers’ mind. The stronger the memory, the higher the chances of the viewer visiting your channel again.
So, the question now is how you can too create an eye-catching channel art?
Well! We will cover all this and much more in this guide.
We will start by introducing you to the YouTube channel art, it's importance, best practices and steps for the creating a really cool channel art.
If you want to directly jump to the creation part you can click on point 3.
- 1. What is a YouTube channel art and why you should care?
- 2. Best practices for creating a great channel art!
- 3. How to make a cool YouTube channel art?
1. What is YouTube channel art and why you should care?
YouTube channel art (also known as “YouTube banner” or “Channel header image”) is the image that appears on the top of your YouTube channel. It is similar to the Facebook cover image.
Since it is located at the top of your YouTube channel, it holds a lot of importance.
It is the first thing people see when they visit your YouTube channel. To make that first impression impactful, you should make sure that you have an outstanding channel art!
A well thought out YouTube channel art tells the visitor, what your channel is all about and what they can expect from your channel.
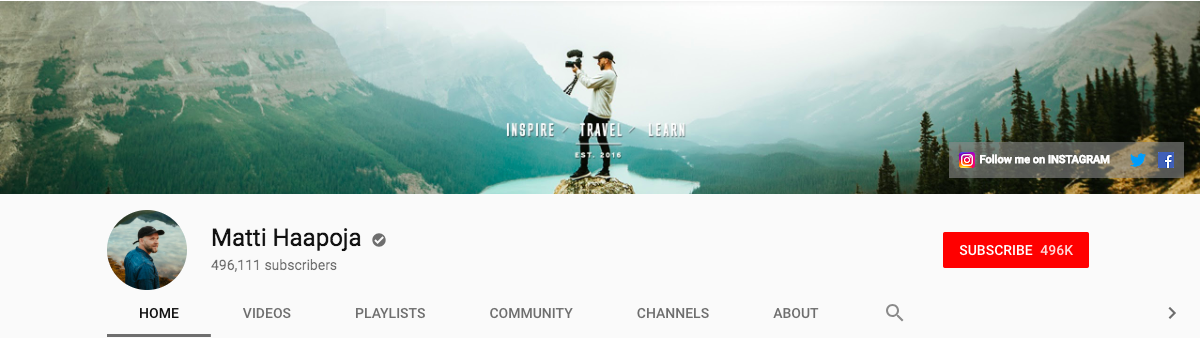
A great example of this is Matti Haapoja’s channel art. The camera he is holding and the view shown in channel art indicates that the channel has something to do with photography, videography or travel. The text on the channel art makes this message a lot clear.
So, while making a YouTube channel art, you have to make sure that you convey your message very clearly. But before you directly jump into designing a YouTube channel art, you should know some of the guidelines and best practices which will help you create an impactful channel art.
2. Best practices for creating a great channel art!
Each YouTube channel has its own genre of content and its own brand personality. That’s why the concept of “one size fits all” won’t work for the YouTube channel art creation process.
To make things easier for you, we have come up with some clear guidelines that will tell you about the best size for a channel art, the safe zone area within the channel art and where you should place your main components like text and images so that they are visible on all devices.
Best size for a YouTube Channel Art
According to Google, the recommended size for a YouTube channel art is 2560x1440px. But, do note that YouTube crops out a different part from this size for different devices.
For, example if you create a channel art with dimensions 2560x1440, then this is how your channel art will look like on different devices.
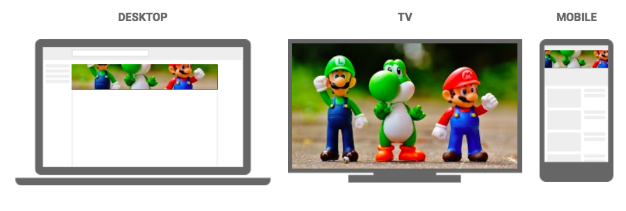
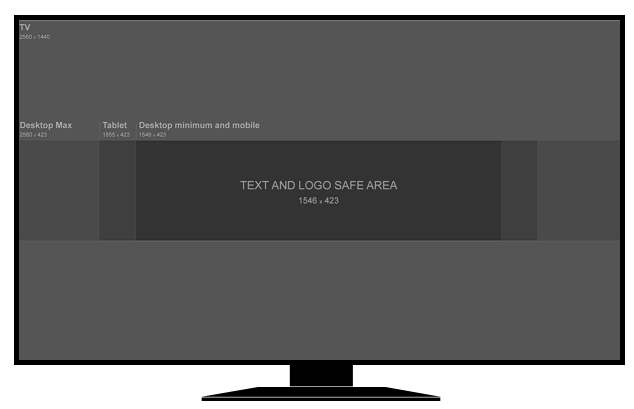
Safe Zone for YouTube Channel art
As shown in the image above, the channel art appears fully on TV whereas, the channel art is cropped for desktop and mobile devices.
What has to be noted here is that there is some part of the channel art that is always visible regardless of the device that is being used. This area is called the safe zone for your YouTube channel art.
But while designing how can you make sure that the Channel art is within the safe area?
Well! No need to stress yourself because we have a quick and easy solution to this problem.
If you want to make sure all the important elements lies in the safe area you should place them within 1546x423 px area. Everything outside this area will be cropped based on the device you are using.
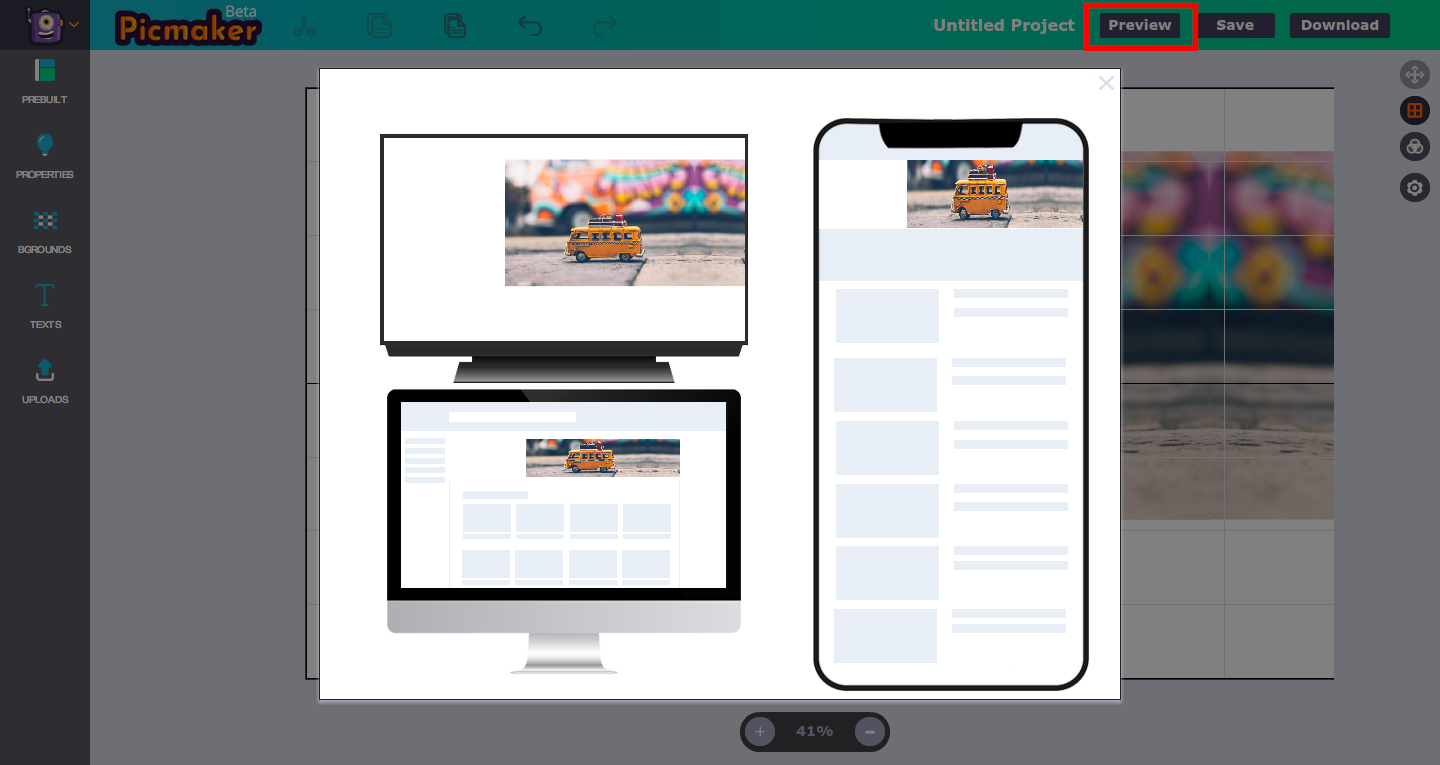
The image below will help you visually understand how a channel art is cropped on different devices.
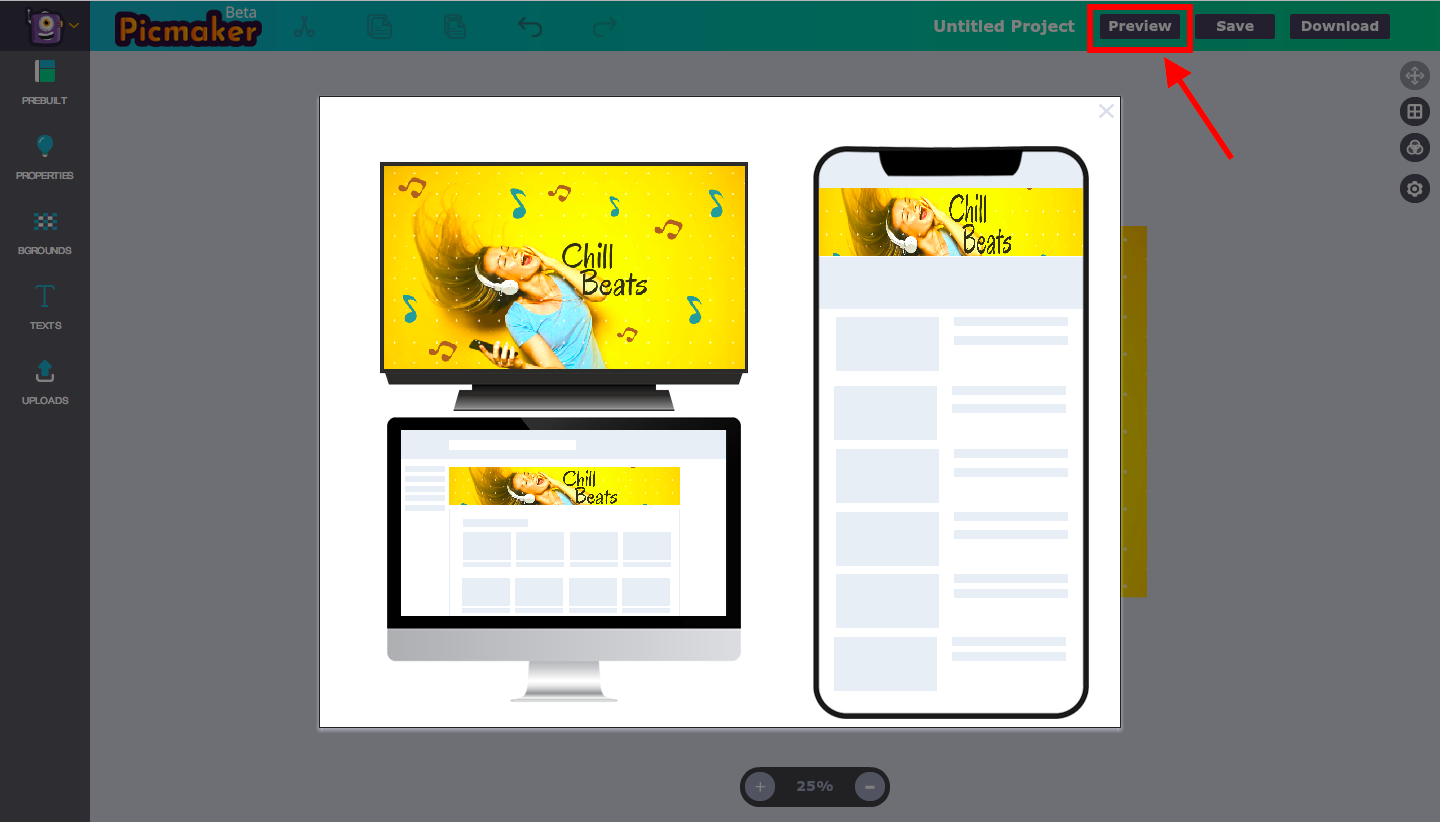
Locating the Safe area on Picmaker is pretty simple.
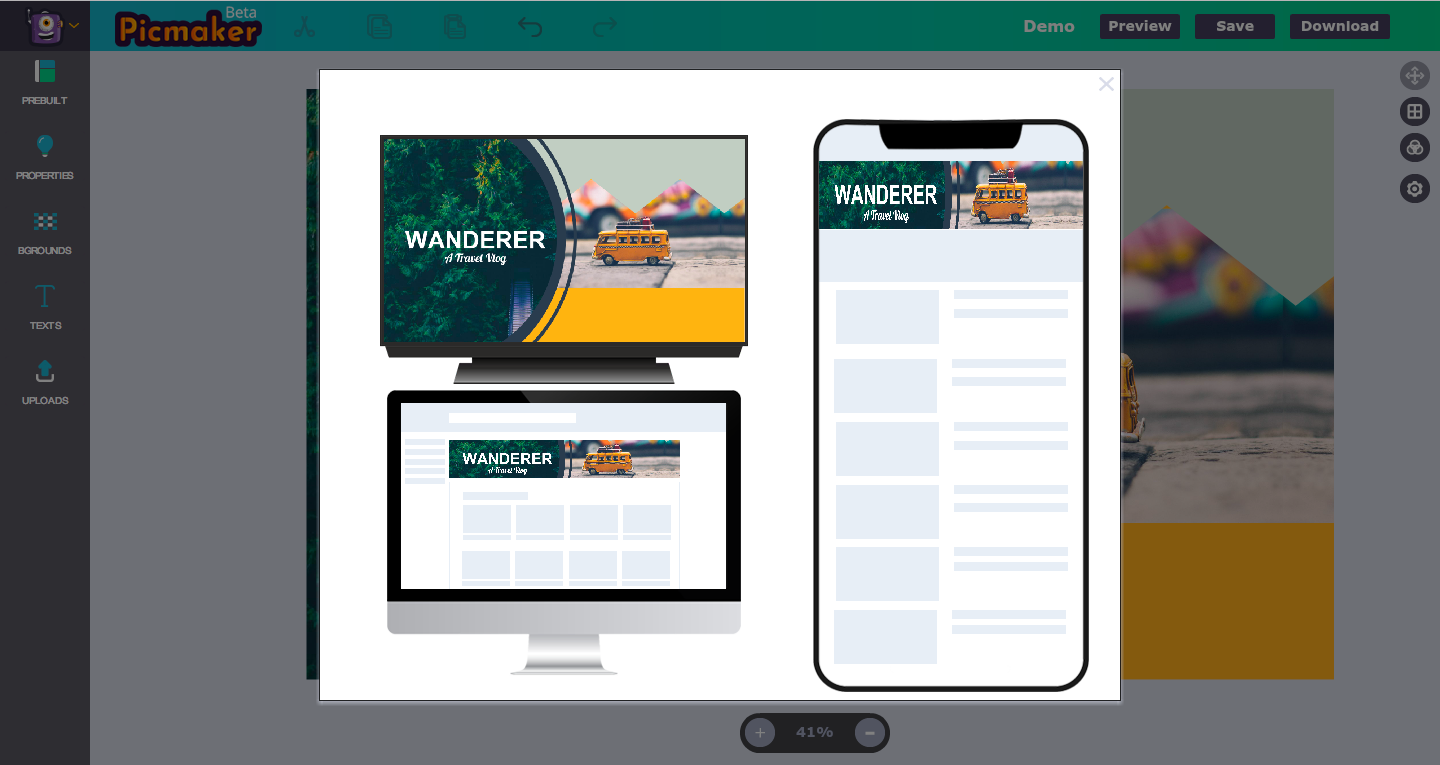
Just click on the preview button on the top right-hand side of the screen. The preview screen that opens will show you how the channel art will look on different devices. Using this feature, you can check whether the important elements in your channel art, lie within the safe area!
Now that you know how to strategically place the text and images on the banner to suit different devices, let’s dive deep into the process of creating a YouTube channel art.
3. How to make a cool YouTube channel art?
Creating a YouTube channel art can be a nightmare without the help of a user-friendly tool, especially when you have to create for different devices.
In this guide, we are using Picmaker to make a channel art that fits every device. Picmaker is free, easy to use YouTube channel art maker launched by the creators of Animaker.
Without further ado, let’s get started!
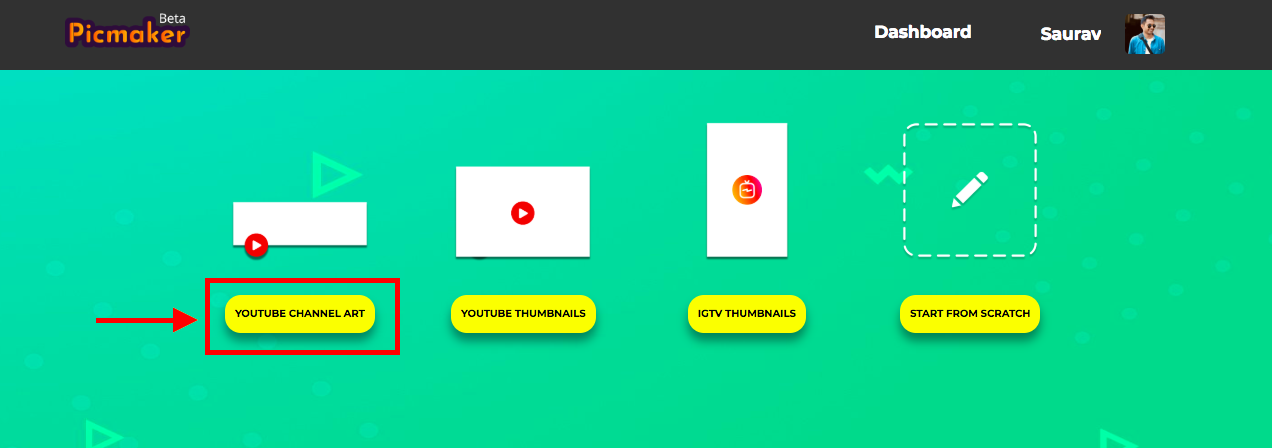
1.Select proper YouTube channel art size
As we discussed in the previous section, the recommended dimensions for a YouTube channel art is 2560x1440px. To create a project at the recommended size, Just click on the YouTube channel art button on the dashboard to set the workspace area of the new project 2560x1440.
2. Select an image
Once the project is opened, the first step is to select an image for your channel art. The image you choose will define the personality of your channel and brand. So, it’s very important that you do some deep thinking on the type of image you want to generate for your channel.
For example, if you want to create a YouTube channel art for a channel which is into travel, then you have to select an image that conveys the essence of the travel experience.
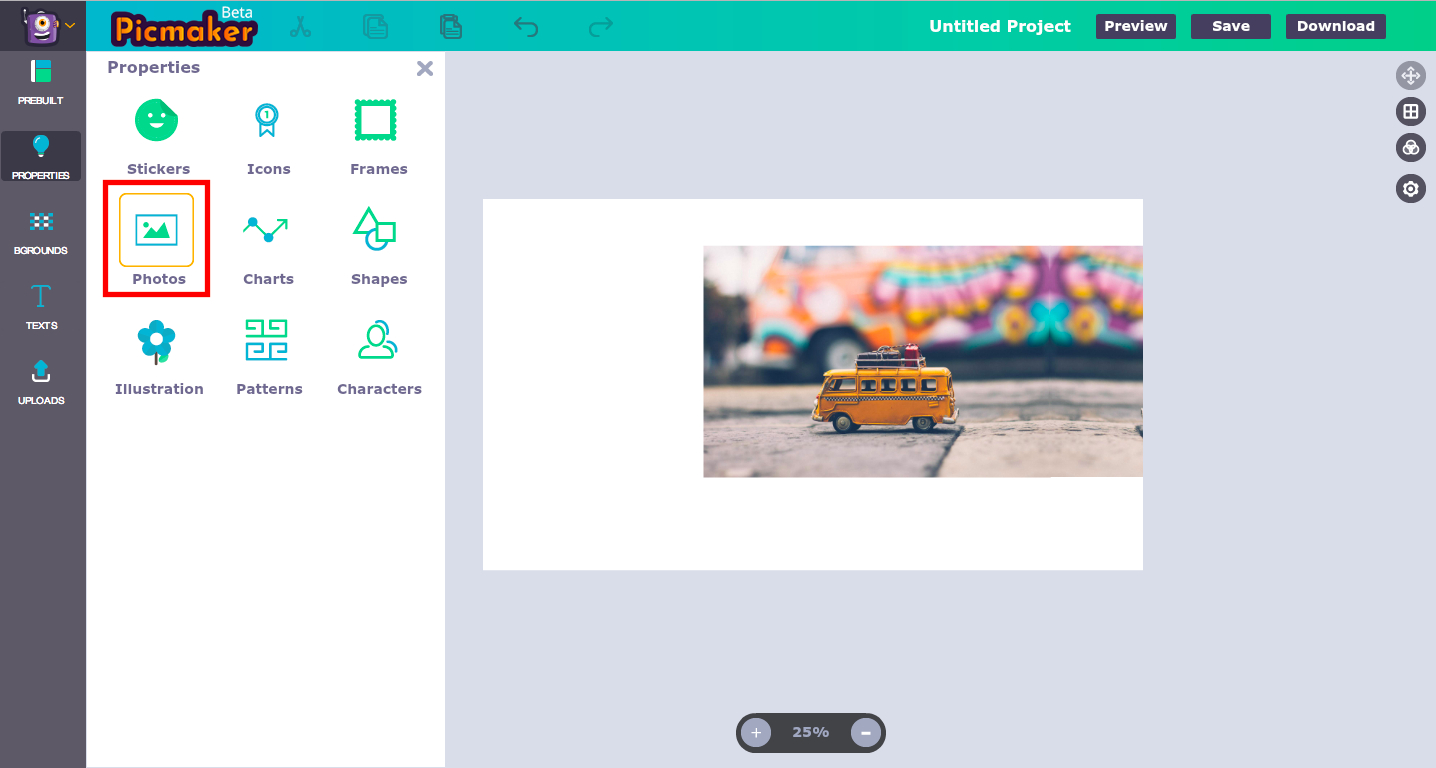
To use an image into Picmaker, click on the photos button in the property tab and pick the right image from 1000s of royalty free stock images which are readily available.
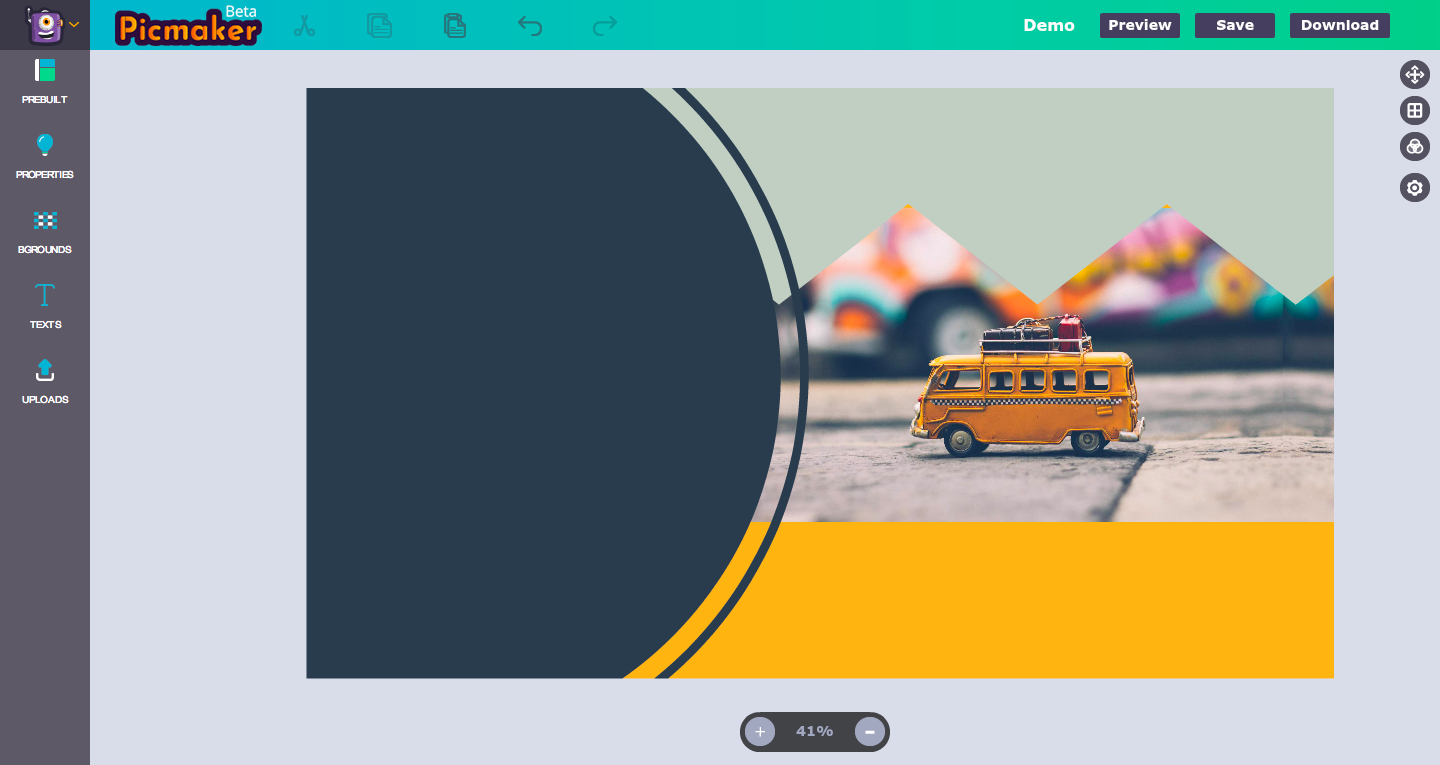
3. Position your image in the safe zone
Now that we have our image on the workspace, the next step is to place it in the safe zone.
Here our main subject is the travel van, so we have to make sure that it is placed in the safe zone.
And now, to check whether your subject is placed within the safe area, click on the preview button on the top right-hand side corner of the screen.
Once you have made sure that your main subject is in the safe zone, move on to spicing up your image with some graphic elements, shape, patterns, and attractive typography.
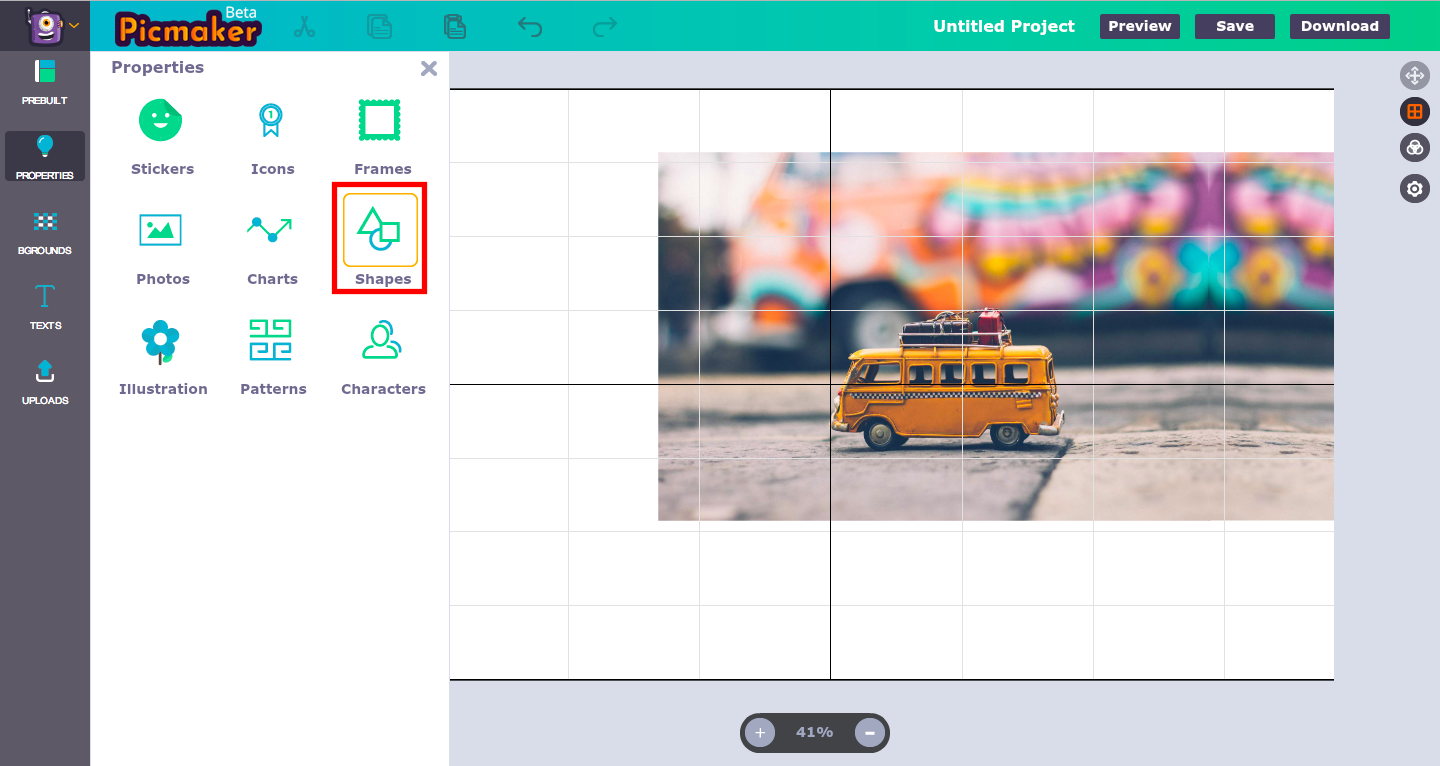
4. Add shapes and spice up your channel art
Now, you can add some shapes to the design mix and make your channel art look a lot cooler.
To add shapes, click on the shapes icon in the properties tab and select whichever shape you want to add.
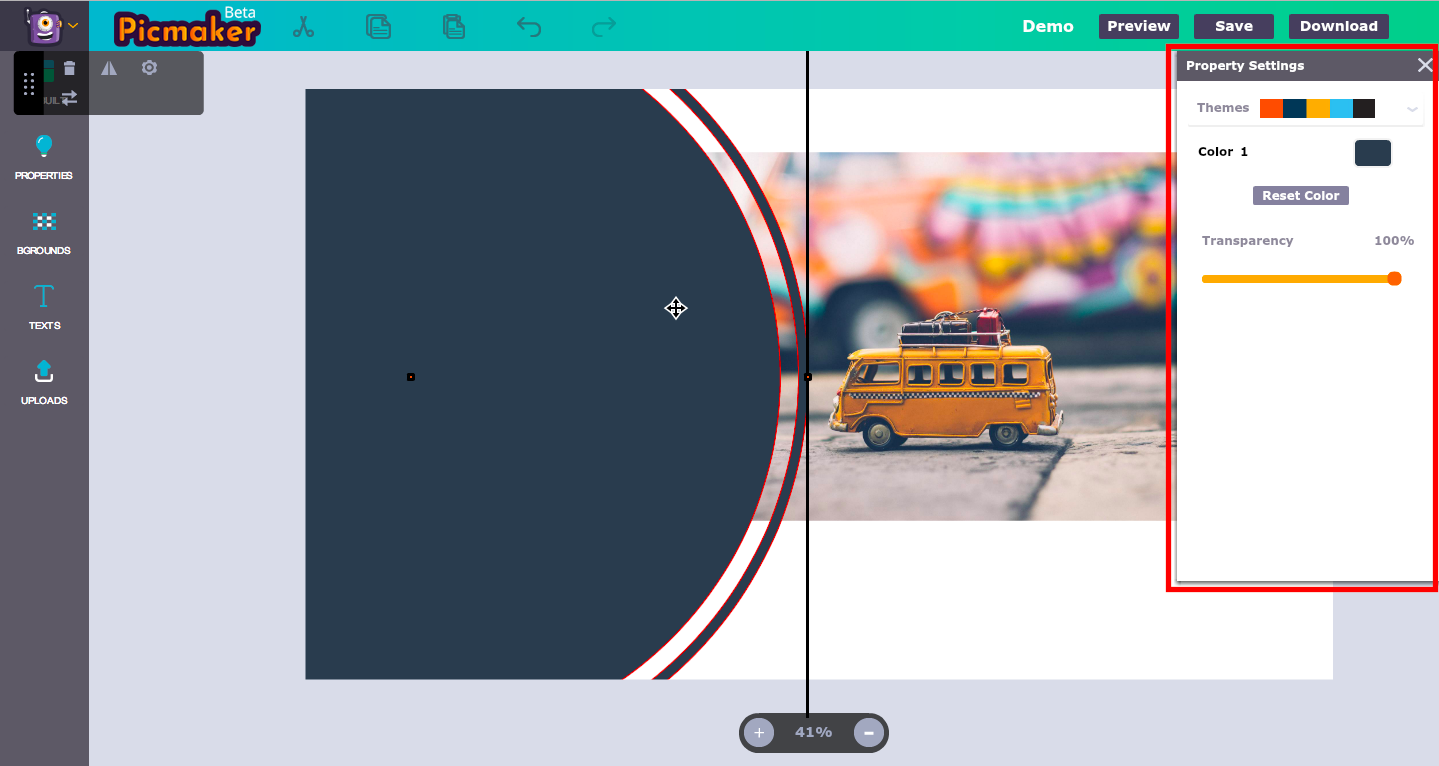
Once you select a shape, you can resize or rotate the elements any way you want.
Now, if you click on any of the shapes, you will see a property setting window popping up on the screen. Using this property setting window, you can change the color and transparency of the shape.
Add more elements into the design mix to make it look more attractive and interesting.
To move any object to the foreground or to send it back, you can right click on the shape and select the option you need.
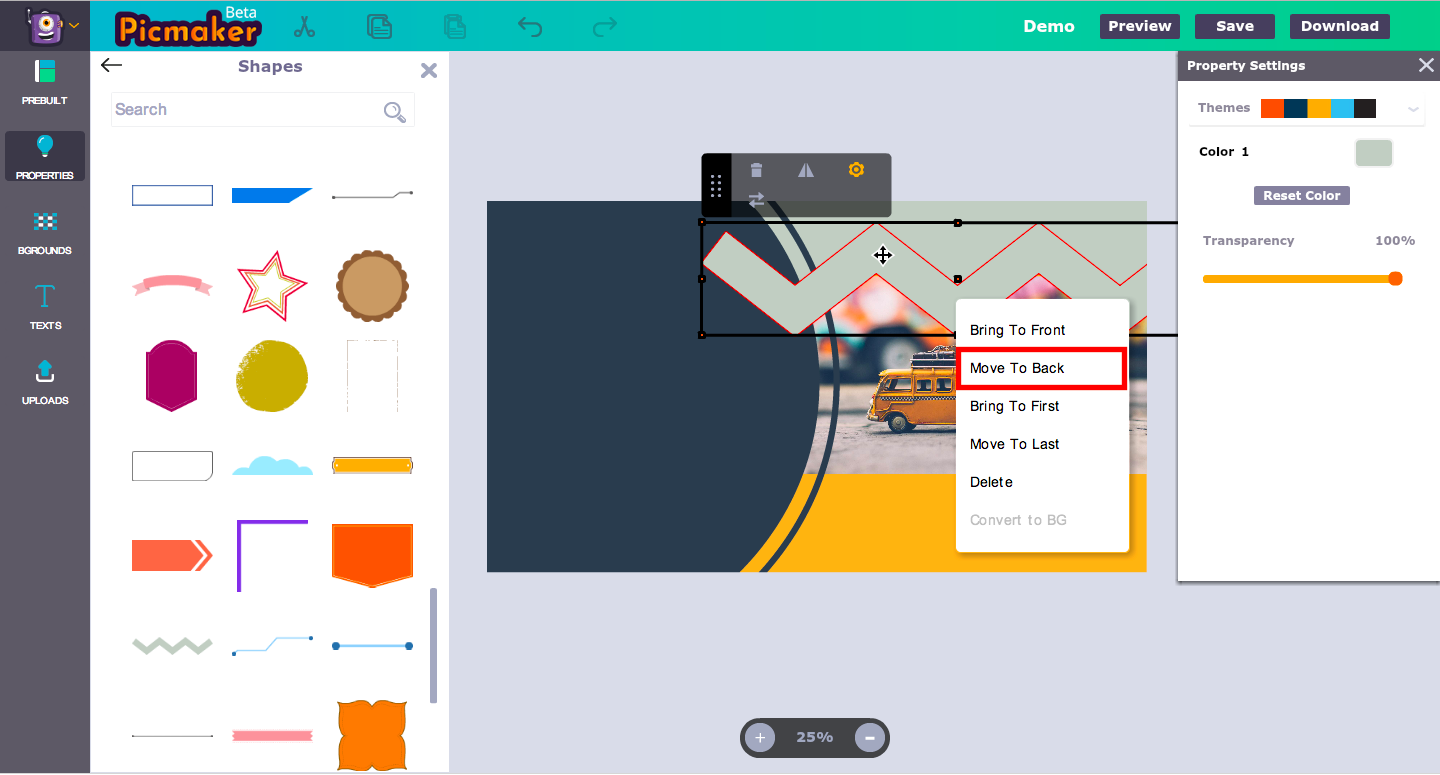
In this scenario, we are moving the shape backward, so we are clicking on the “move to back” option.
There you go! Looks cool, right? :)
5. Add frames to level up your channel art game
There is always a way to make things awesome. The same is true with shapes as well. You can take your plain looking shapes and make them look a lot more awesome with the help of frames.
Frames in Picmaker are shapes in which you can add another image.
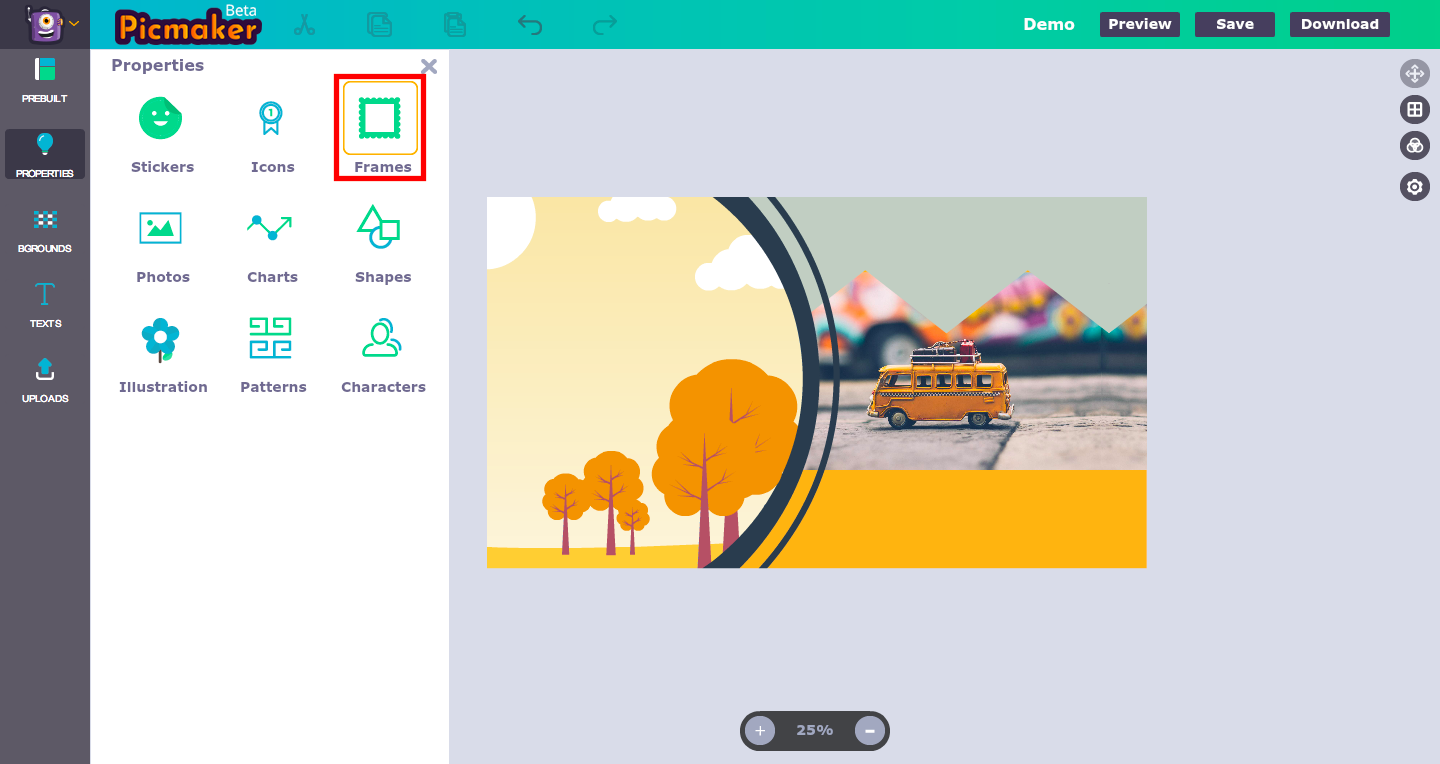
To add such a frame, click on the properties tab and then click on the frames option. Now you can pick one from the different options and use it in your channel art.
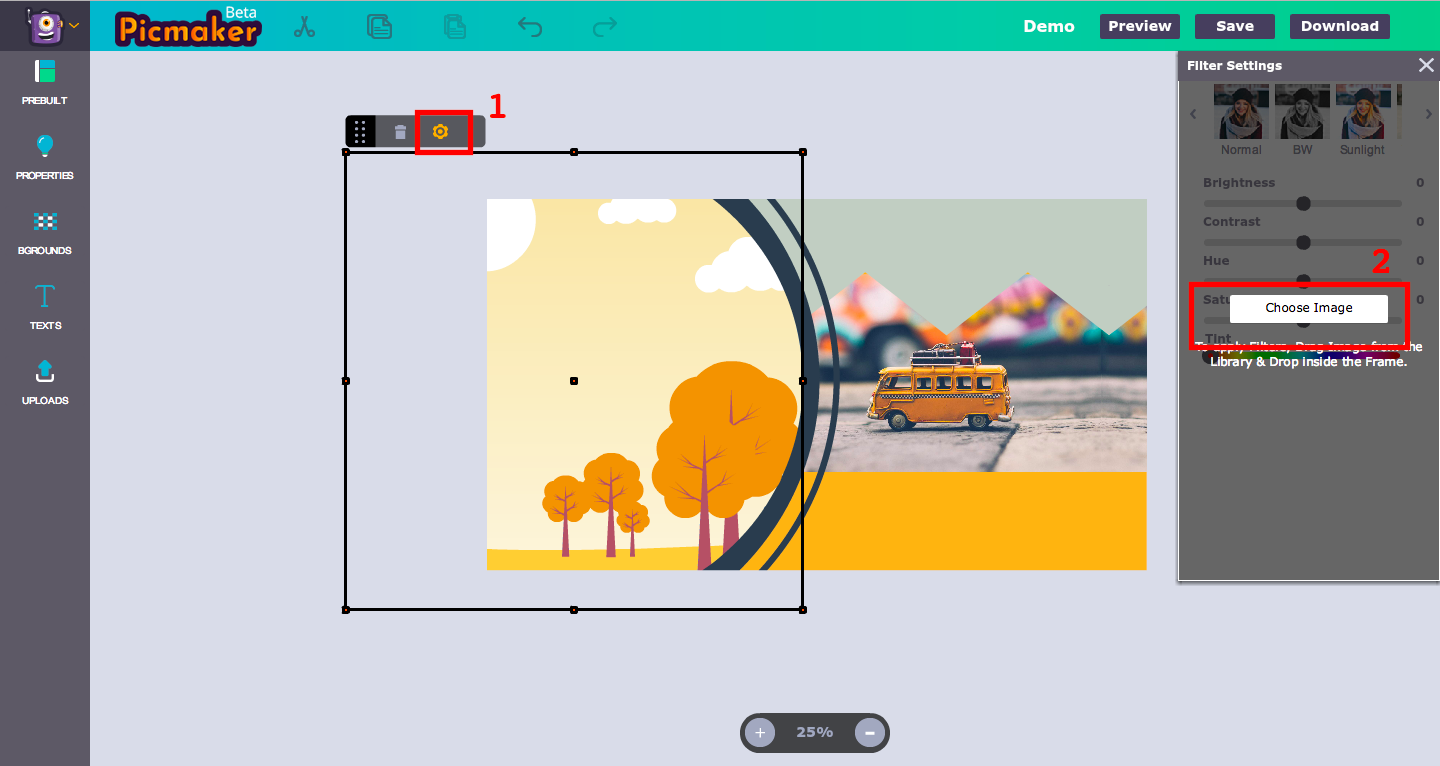
Now, to add an image to the frame, click on the settings icon that appears when you select the frame. Now, a settings window will appear. From here, you can click on the “choose image” button and then drag and drop any image from the library into the frame.
After having dragged and dropped your image into the frame, you can reposition your image within the frame by double-clicking on the image in the frame. You can even add filters to the image in the frame by clicking on the settings button (marked as 1) shown in the image above.
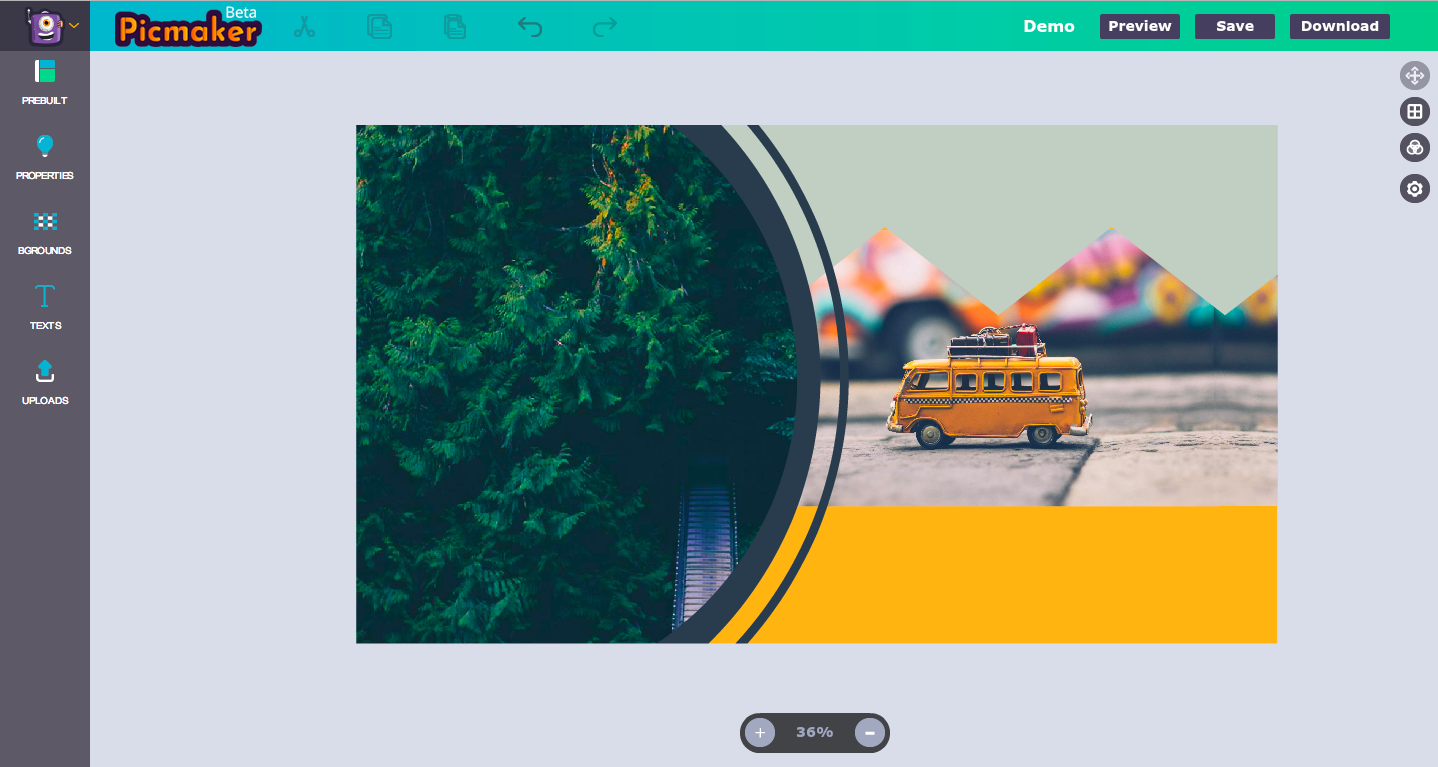
Once you are done, your channel art will look something like this!
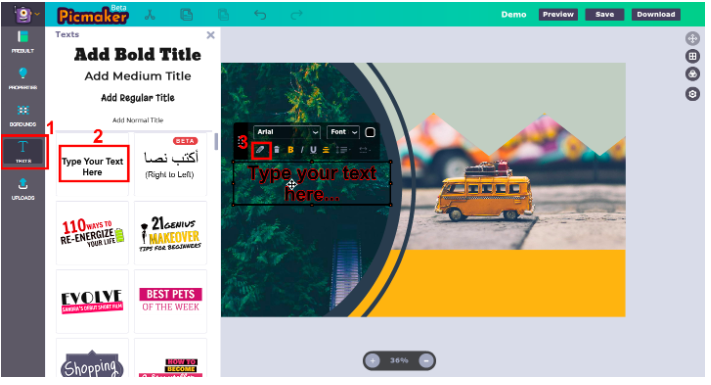
6. Add text to clearly convey your channel’s message
Once you have added graphics and images, you have to add some text to the channel art. This makes sure that the message you want to convey through your channel art is conveyed clearly.
To add text, click on the text tab on the left-hand side menu. You can either select a text pre-built from the tons of available options or you can select a plain text box to start with. In Picmaker, you even have the option to upload your own custom fonts.
To edit the font inside a text box, you can either double-click inside the box or simply click on the edit icon and then start typing. You can also change the font style and size using the other options available.
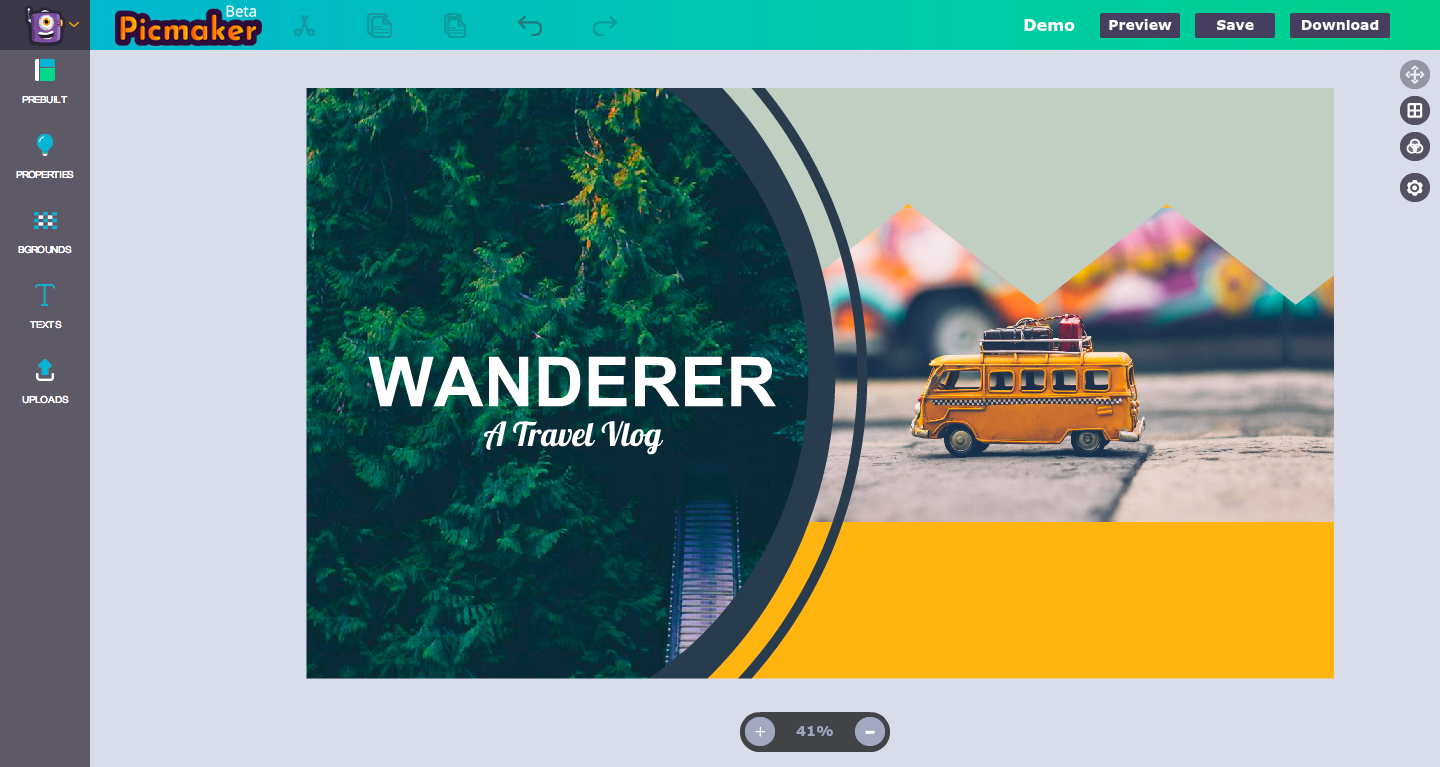
Once you have picked a good font style, your channel art will look something like this!
7. Preview and download your channel art
Now that your channel art is ready, it's time to preview and check how it looks on different devices. The preview option is available on the top right-hand side of the screen.
Once you have finalized the design, you can now download the channel art by clicking on the download button that is on the top right-hand side corner of the screen.
Now you are done!
Its that easy to create a super cool YouTube channel art in Picmaker!
With all the resources and features available on Picmaker, you can easily create an awesome YouTube art in just a few minutes.
Do you have any tip to make the channel art look even cooler? Let us know in the comments below.